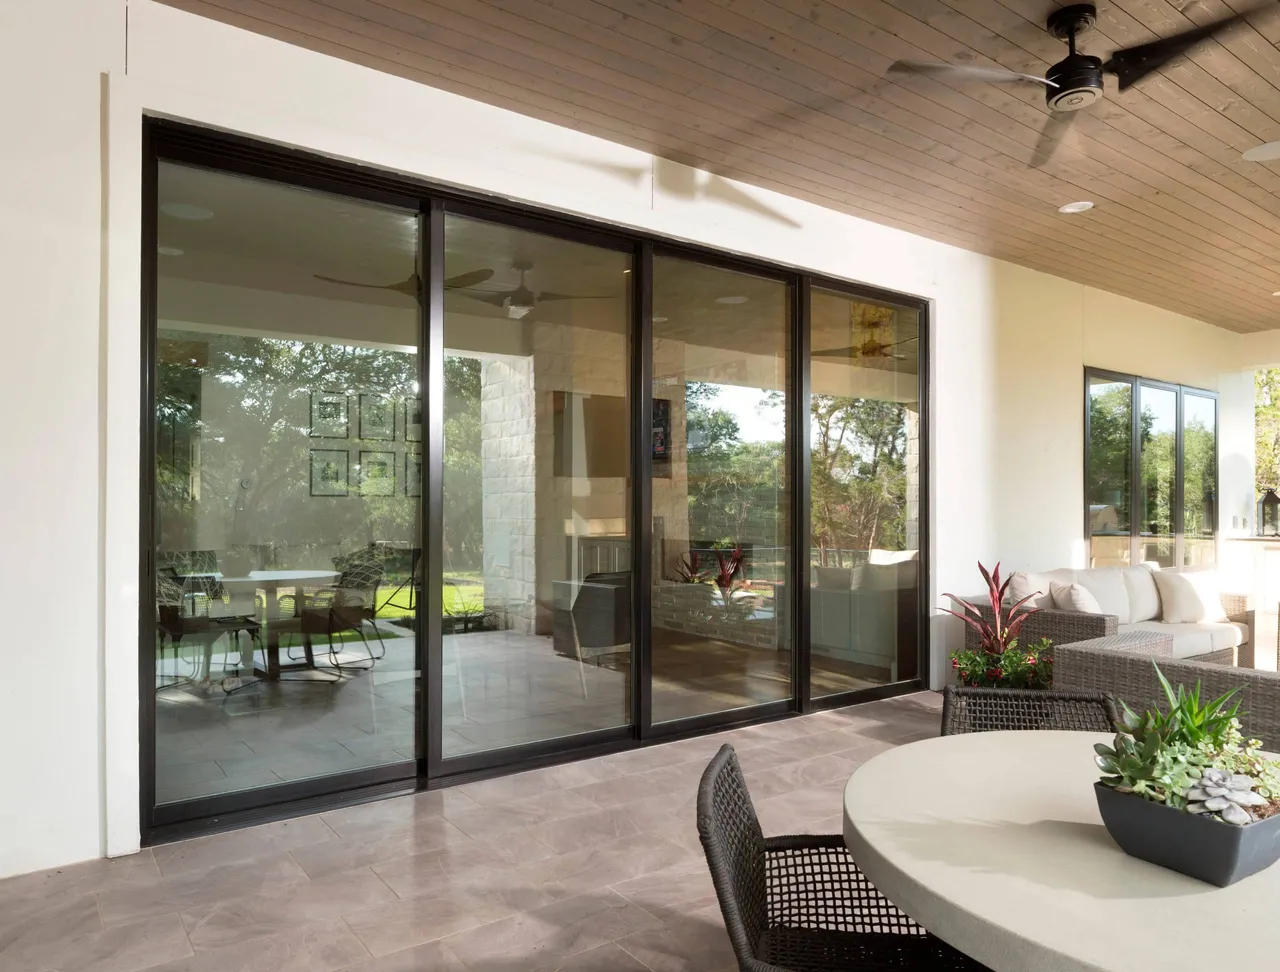
Steps for Installing Commercial Windows and Best Practices

Installing Commercial Windows:
Steps for Installing Commercial Windows and Best Practices not only enhance energy efficiency but also protect against various damaging elements, resulting in significant cost savings and improved indoor comfort.
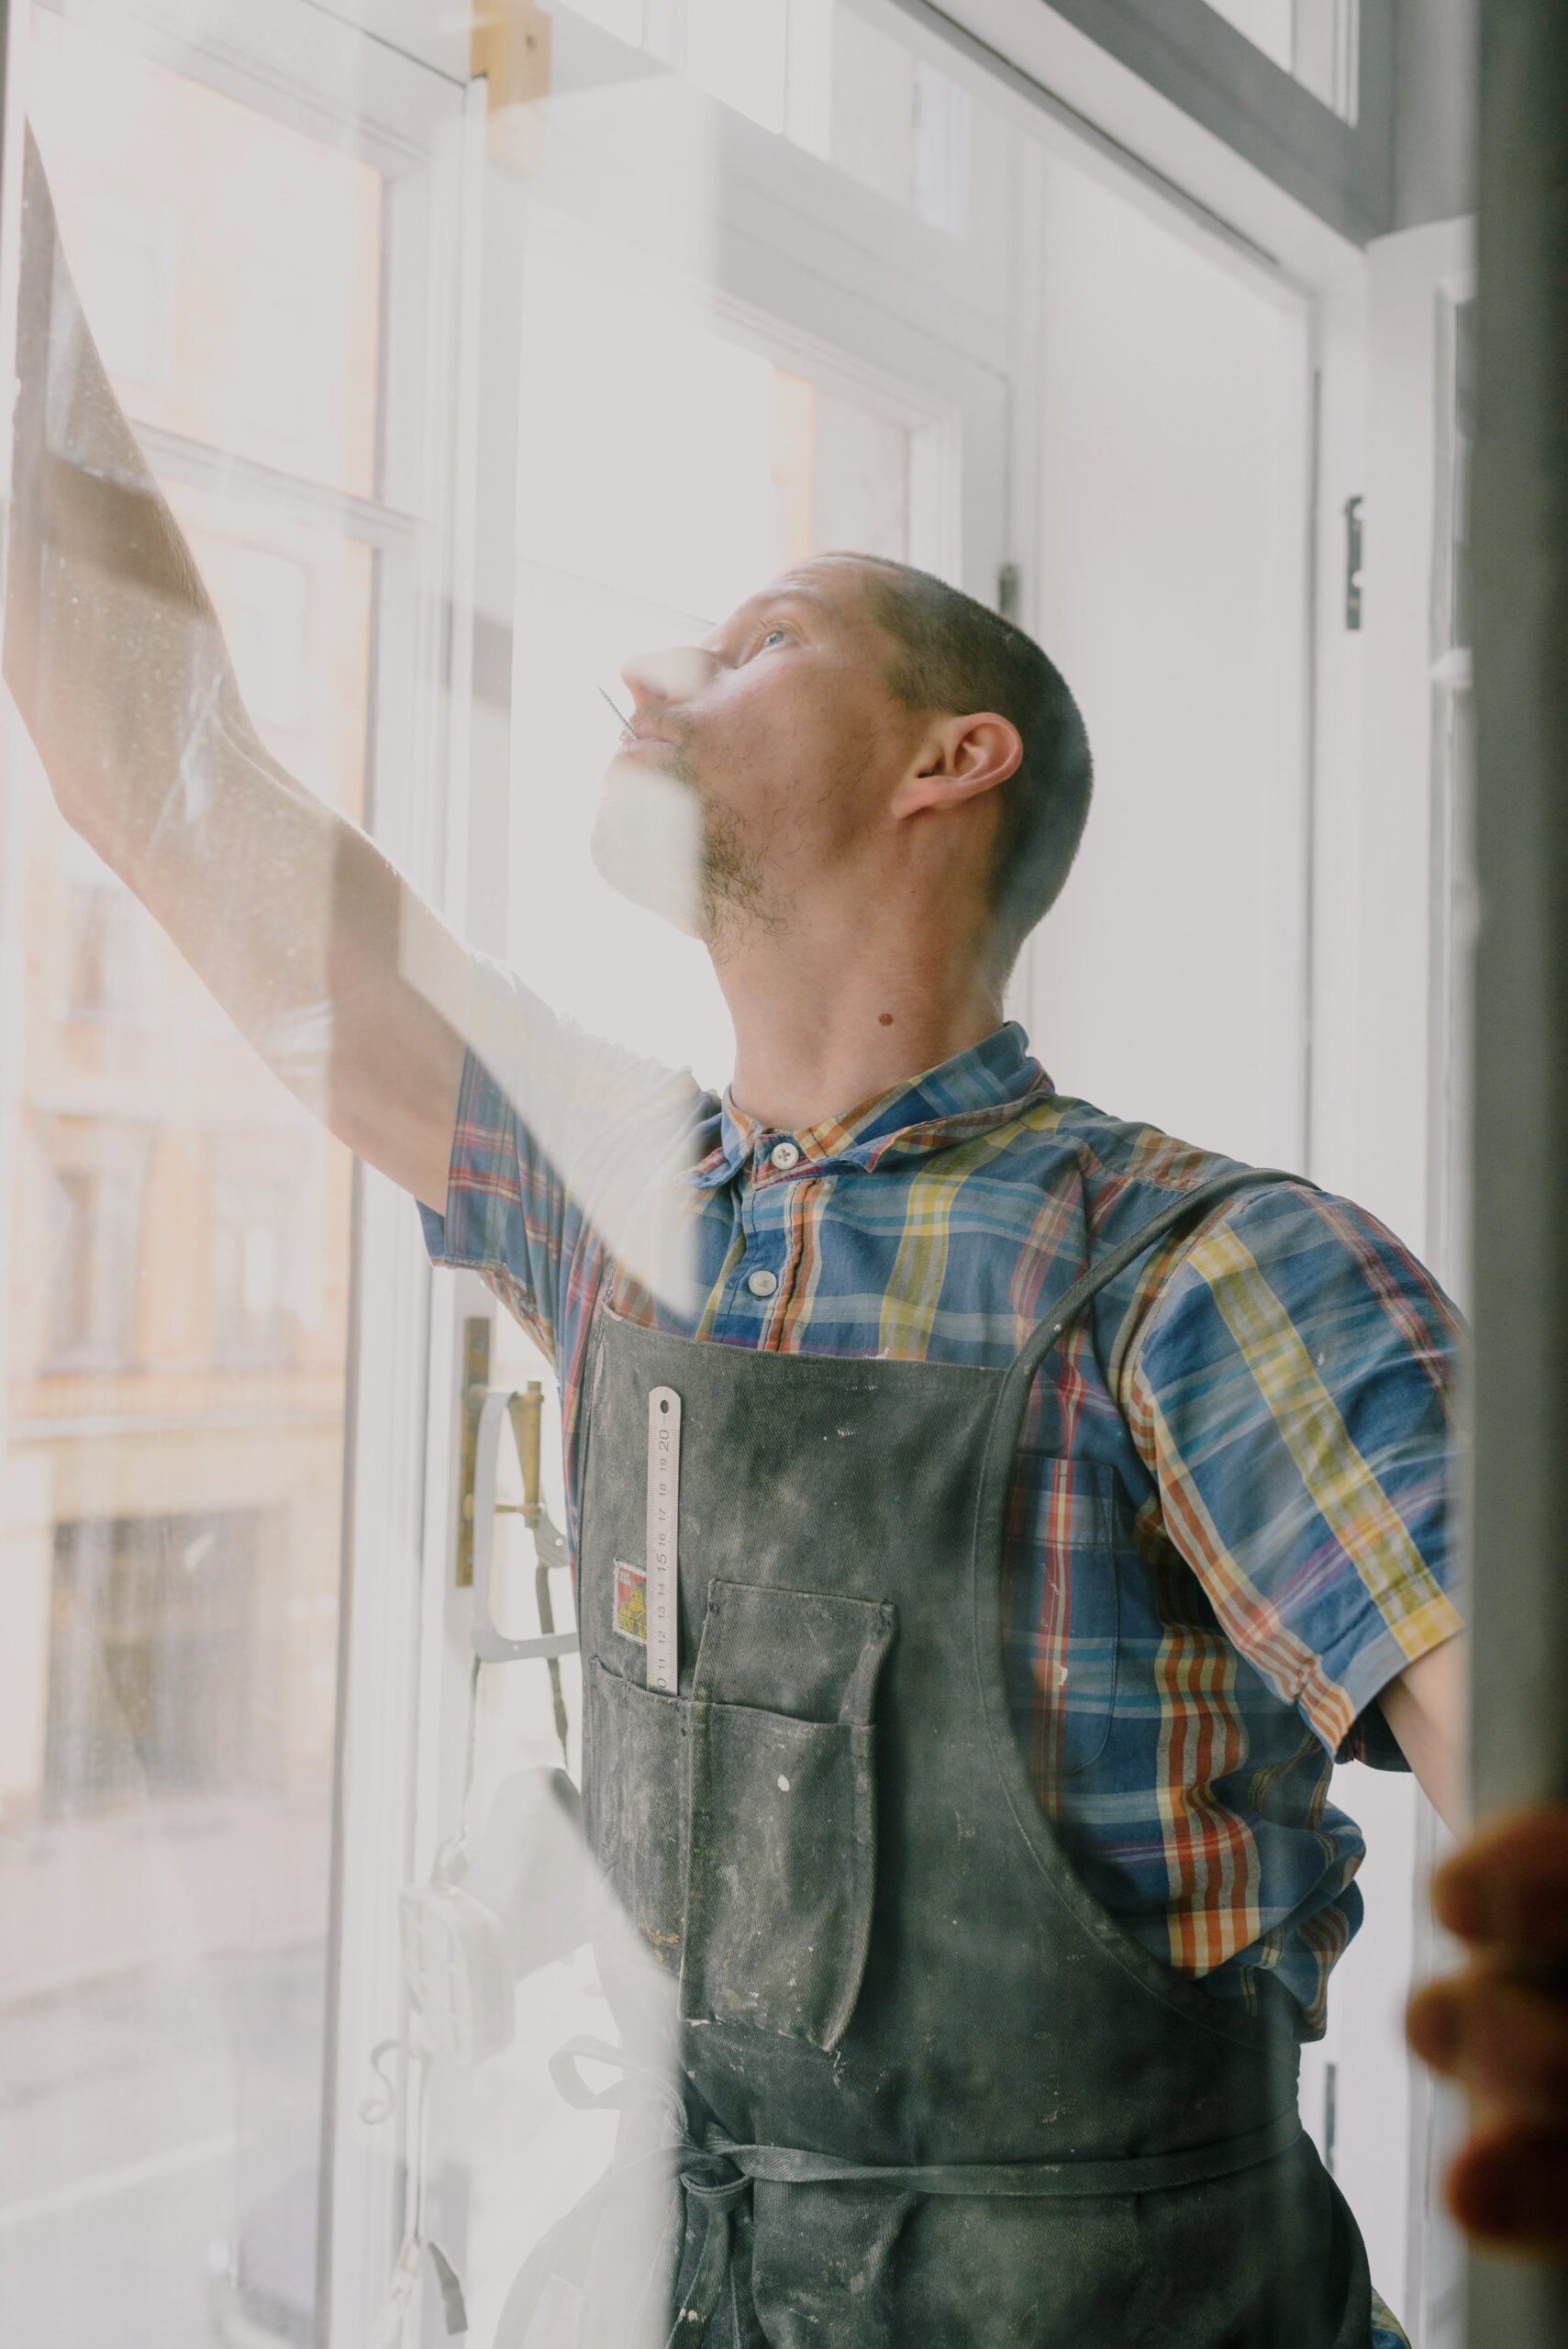
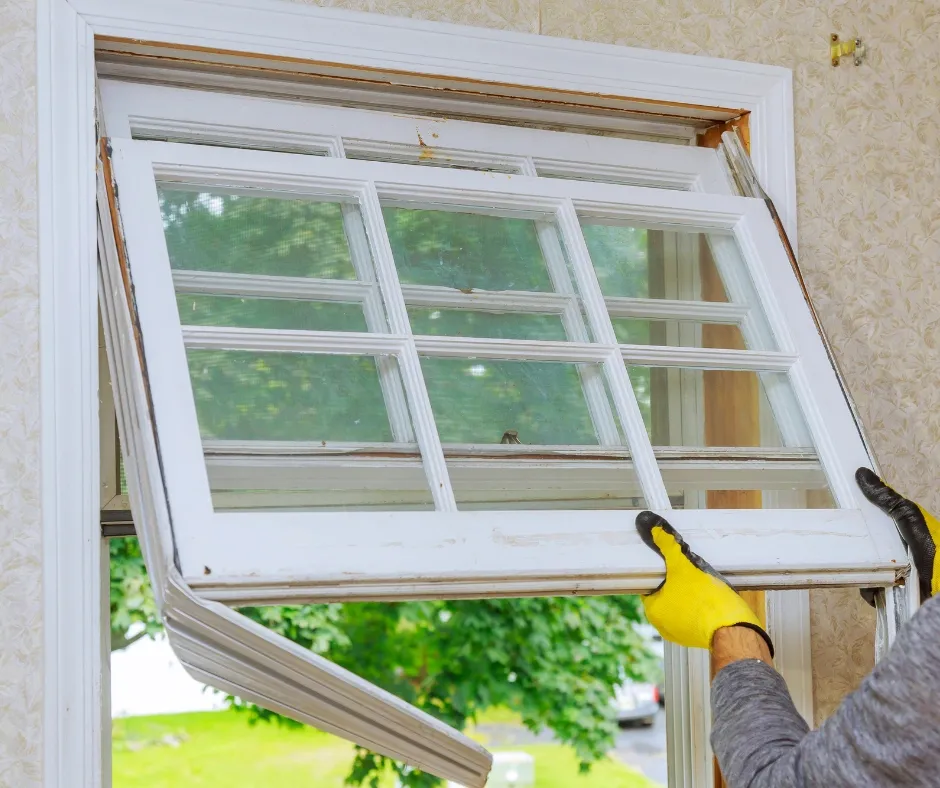
While new windows can be expensive, DIY enthusiasts with experience and an extra pair of hands can achieve considerable cost savings by undertaking window installation themselves. Selecting quality windows installation products, such as PolyWall Window Flashing and Polyguard peel-and-stick vapor barrier products, is crucial for ensuring the success and longevity of newly installed windows.
Considerations When Installing Windows:
Local ordinances may necessitate a building inspector to ensure that flashing and all window installation details comply with building codes. The 2021 IBC (1405.4) and IRC (R703.4.1) mandate flashing installation on the exterior window and door openings to prevent moisture intrusion. Additionally, DOE Zero Energy Ready Home and ENERGY STAR Certified Homes require flashing around door and window openings.
To maintain the window’s warranty, proper flashing application specific to the window type is essential, following the manufacturer’s instructions. Builders generally adhere to a standard sequence of steps when using flashing around a new window.
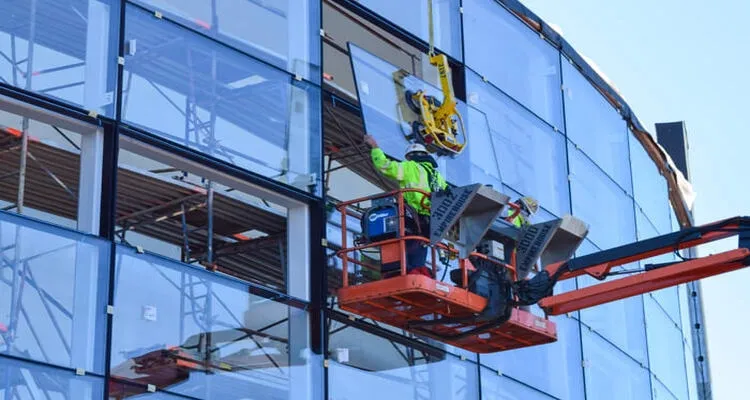
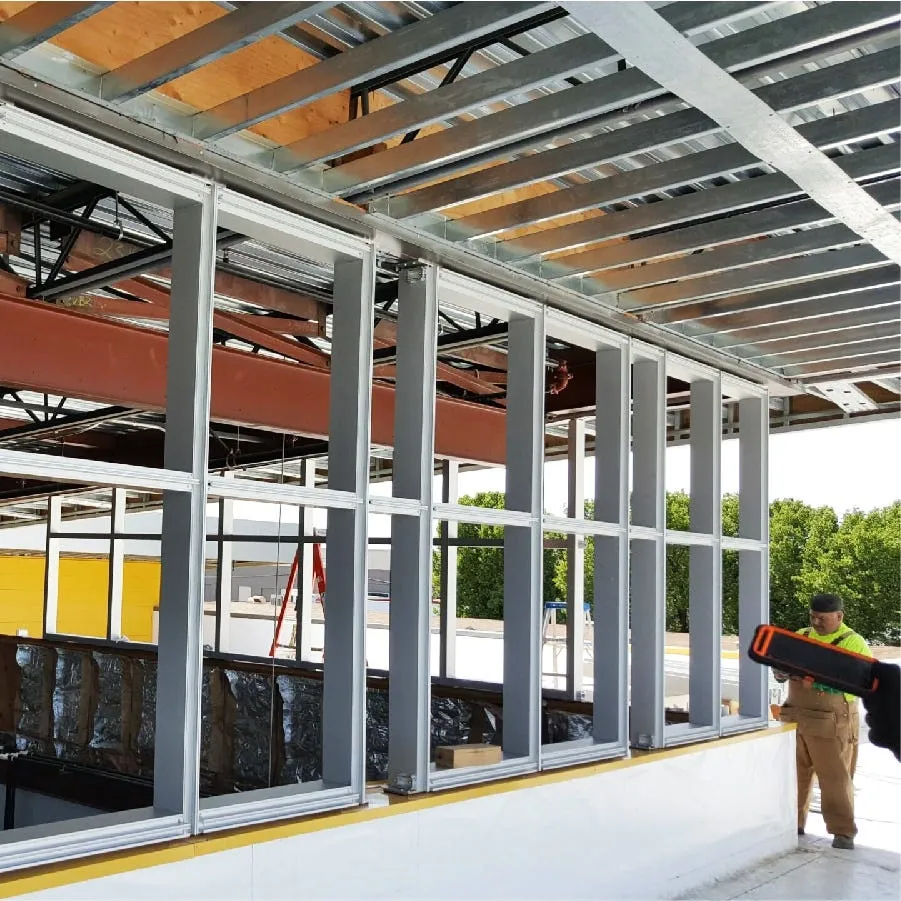
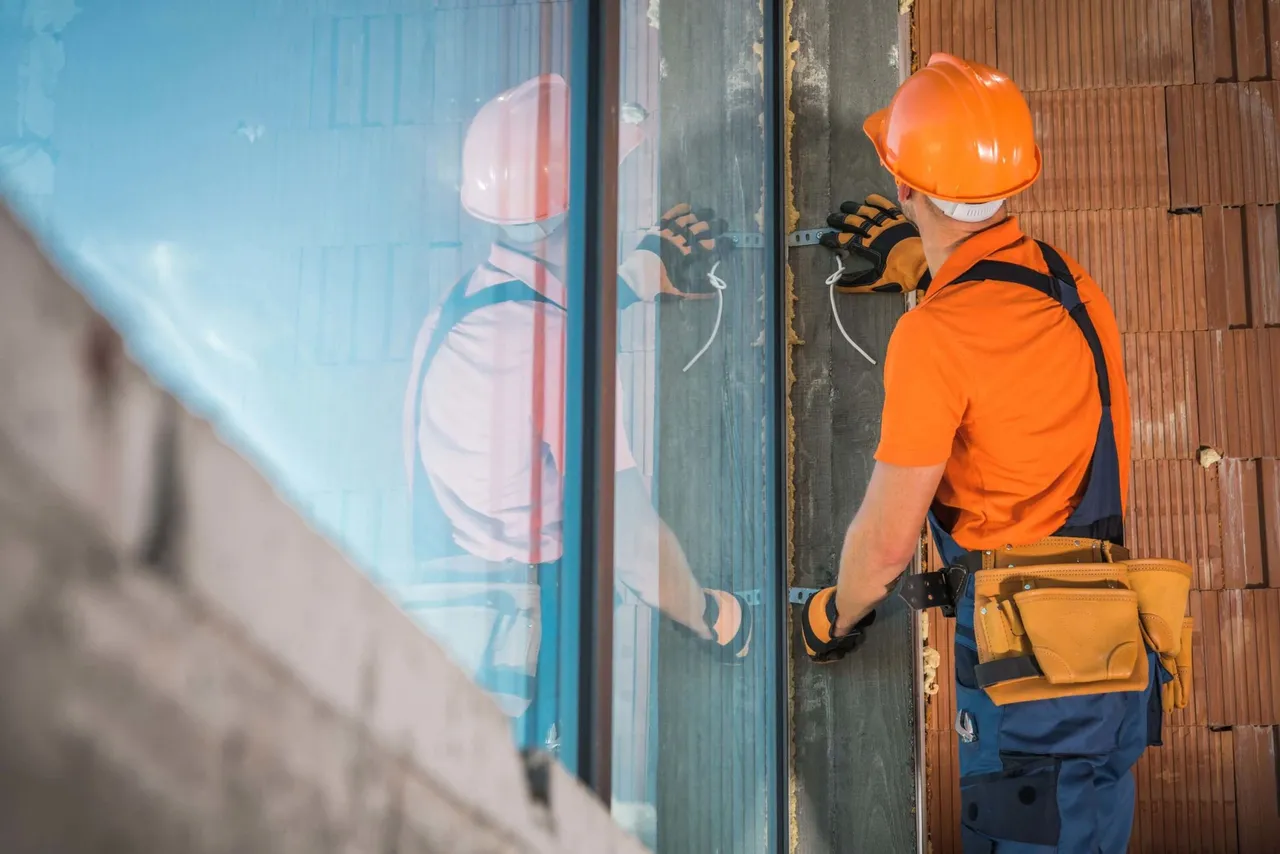
18 Steps to Installing Commercial Windows:
Wrap Weather or Vapor Resistant Barrier Around Window Edges.
Back Dam: Create a back dam or positive slope on the sill to remove water and prevent it from reaching the wall cavity.
Pull Back Header Vapor Barrier: Secure the vapor barrier above the header to uncover a foot of substrate.
Apply Self-Stick Flashing Tape: Cut a piece of flashing tape and install it on the sill.
Remove Backing: Remove the backing of the flashing tape on the sill.
Cut Window Sills: Cut window sills at the rough opening’s corners to fold the flashing onto the barrier surface.
Cut Flashings for Corners: Cut flashing patches and install them at each corner.
Prepare Window for Leveling: Draw a horizontal line on the nailing fin at the center point of the vertical sides of the window.
Center the Window: Place the window into the rough opening and center it.
Apply Caulking: Create a dam in the center of the sill by applying caulking.
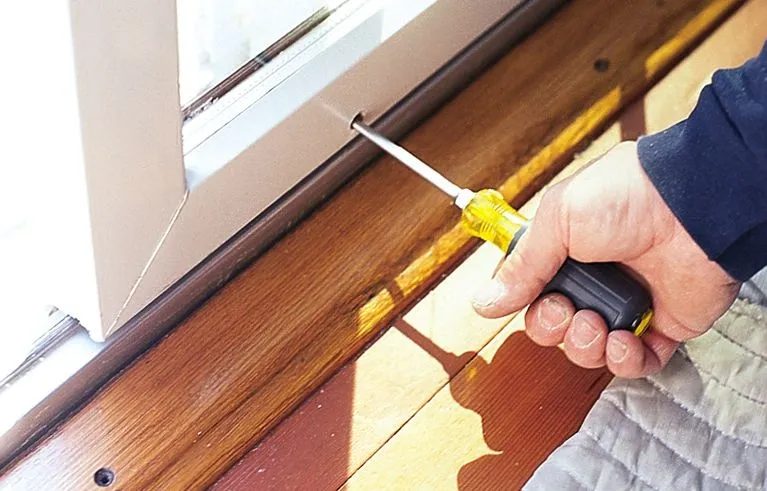
Leveling the Window: Match the center line on the nail fin with the horizontal line on the exterior wall and insert nails.
Squaring the Window: Check for plumb, level, and square, adjust, and insert remaining nails.
Cut Flashing: Measure and cut two pieces of flashing to overlap the window sill.
Extend Flashing Over Opening: Extend the flashing three inches above and below the opening.
Roll Flashing: Use a hand roller to roll the entire flashing surface to seal the bond.
Extend Flashing Beyond Jamb Flashing: Measure and cut one section of flashing to overlap and extend beyond the jamb flashing.
Fold Vapor Barrier Over Header: Fold the vapor barrier over the header on top of the window seal.
Install a Drip Cap: Fit a drip cap over the window’s top to shed water outward and prevent seepage.
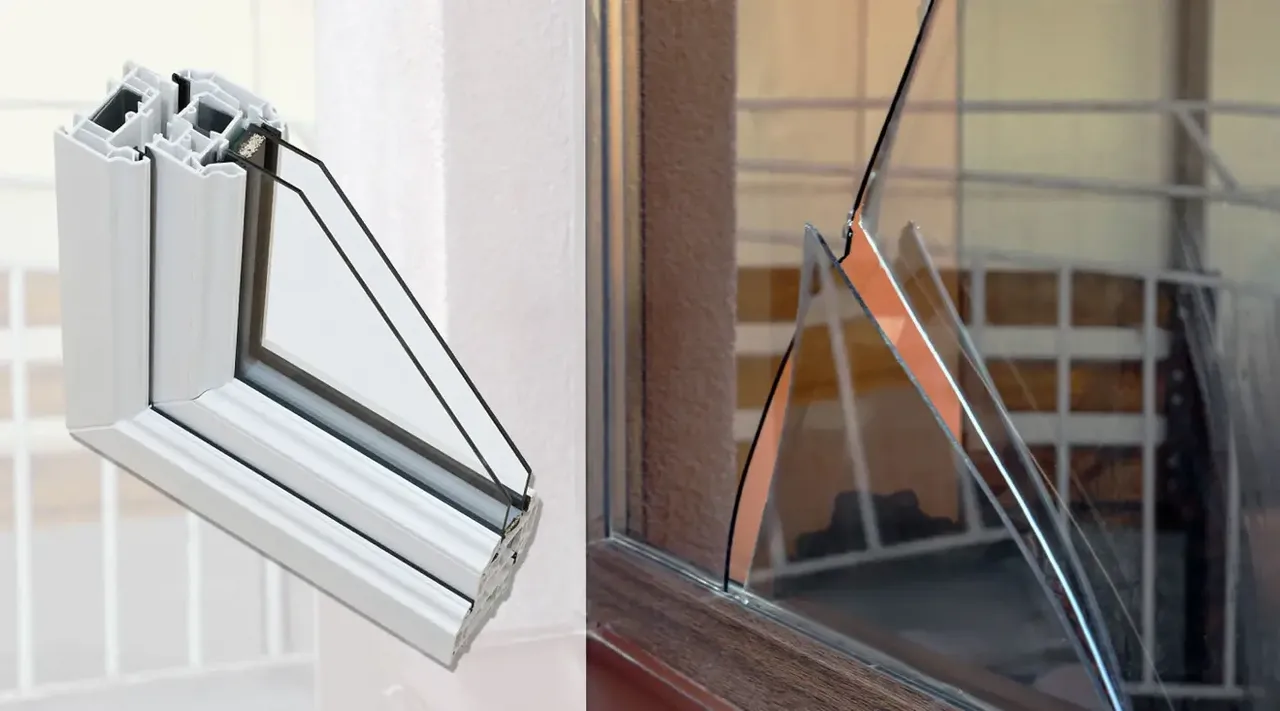
Choosing the Right Window Frame Materials:
Vinyl Frames: Durable and low-maintenance, vinyl frames offer excellent insulation and are resistant to moisture and temperature fluctuations.
Aluminum Frames: Known for their strength and sleek appearance, aluminum frames are suitable for modern commercial buildings but may require thermal breaks to improve energy efficiency.
Wood Frames: Wood frames provide a classic look and natural insulation but require regular maintenance to prevent damage from weather and insects.
Window Glazing Options:
Low-E Glass: This glass has a special coating that reflects heat while allowing visible light to pass through. It improves insulation and energy efficiency.
Tinted Glass: Reduces glare and solar heat gain, making it ideal for buildings in hot climates.
Laminated Glass: Offers enhanced security and sound insulation by combining layers of glass with a plastic interlayer.
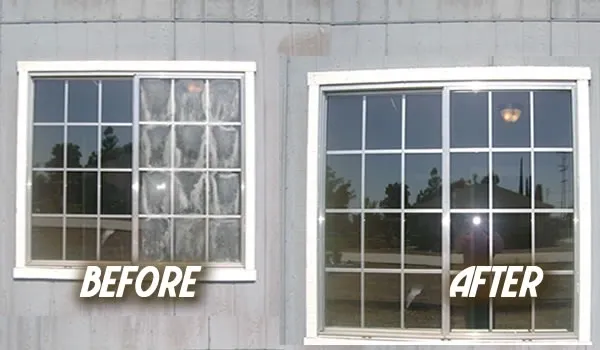
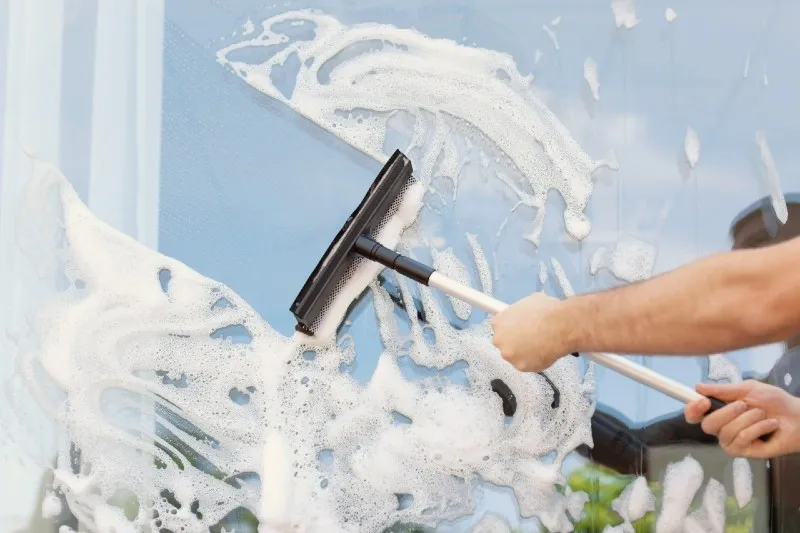
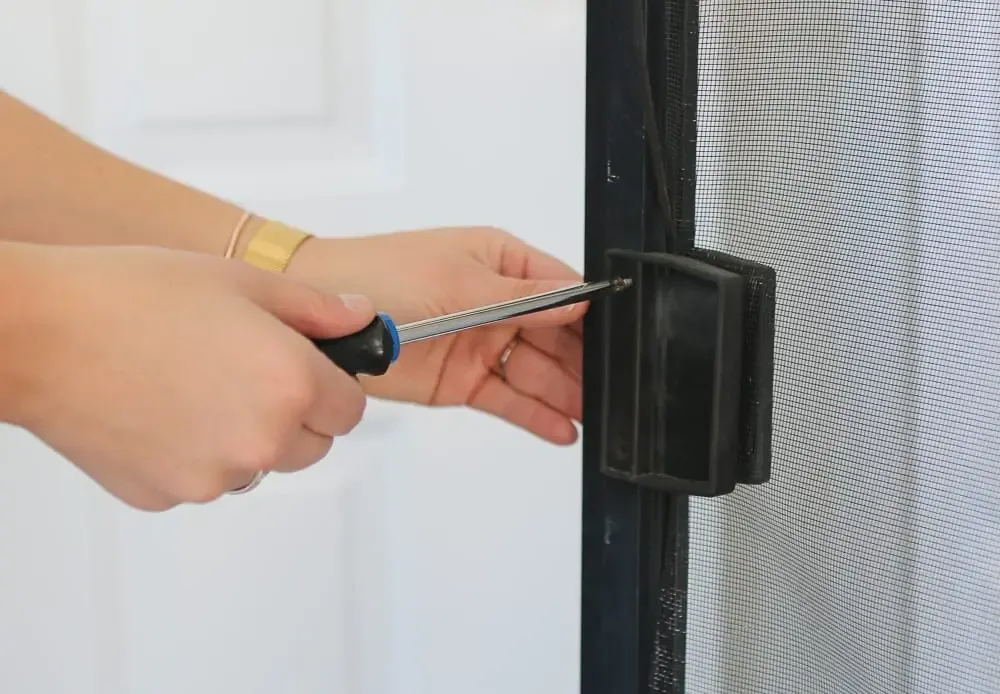
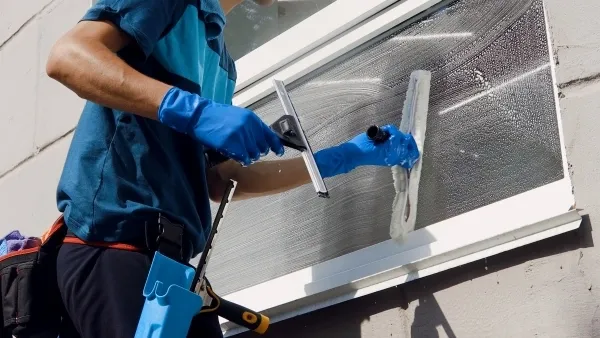
Maintenance Tips for Installed Commercial Windows:
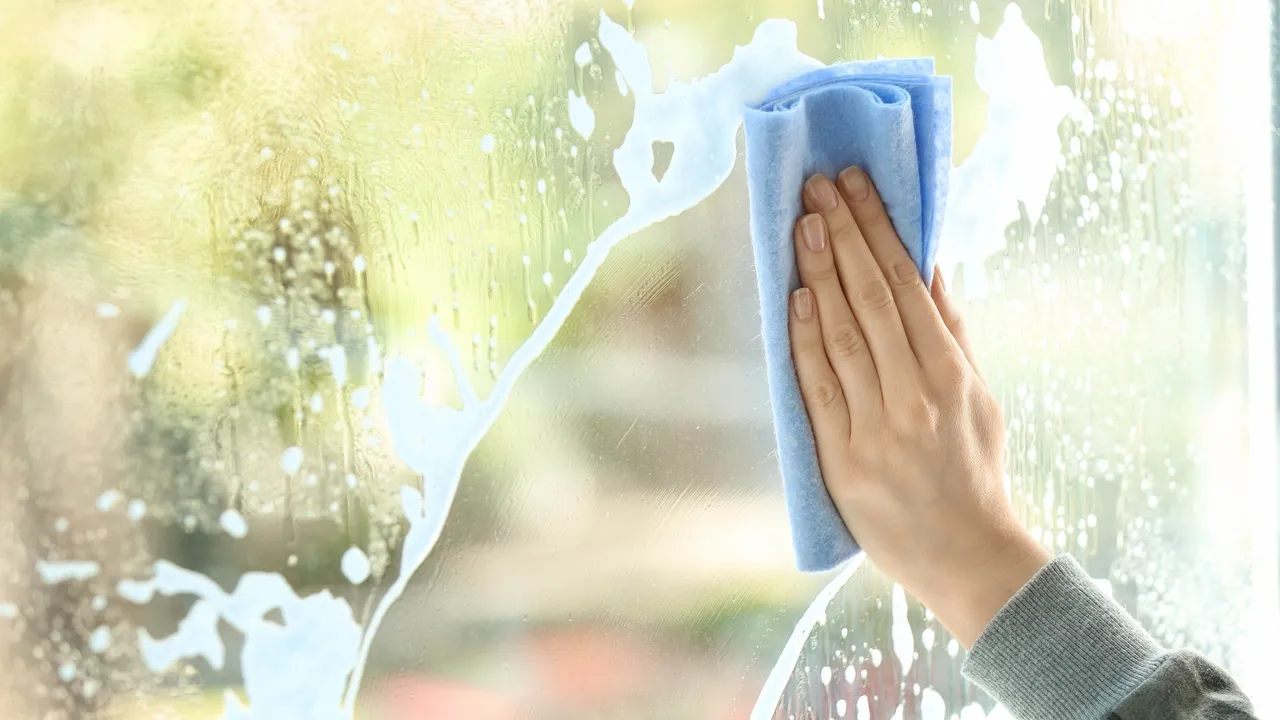
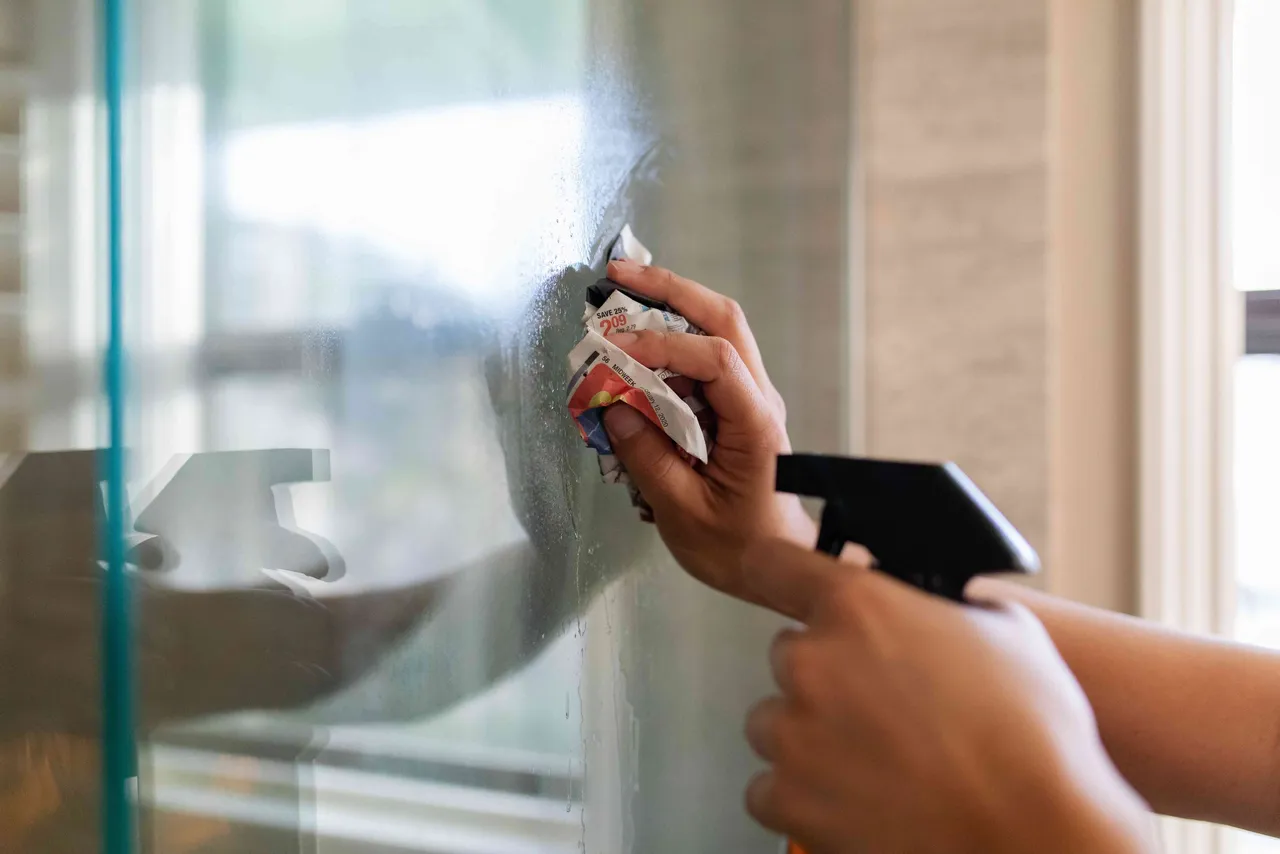
- Regular Cleaning: Clean glass surfaces with a non-abrasive cleaner and a soft cloth to maintain clarity and appearance.
- Inspect Seals and Flashing: Periodically check for signs of wear or damage in seals and flashing to prevent leaks and ensure continued performance.
- Lubricate Moving Parts: For windows with operable parts, apply lubricant to hinges and tracks to ensure smooth operation.
FAQs:
-
What are the benefits of installing high-quality commercial windows?
- High-quality commercial windows enhance energy efficiency, provide better insulation, improve aesthetics, and offer greater durability and security.
-
How can I ensure compliance with local building codes during Installing Commercial Windows?
- Consult with local building authorities or a professional installer to understand and comply with relevant codes and regulations.
-
What are the most common issues during Installing Commercial Windows?
- Common issues include improper sealing, poor alignment, and inadequate flashing. Following manufacturer instructions and best practices can help mitigate these problems.
-
How often should commercial windows be inspected and maintained?
- Commercial windows should be inspected annually, and maintenance tasks such as cleaning and seal checks should be performed regularly.
Conclusion:
Successful Installing Commercial Windows involves careful planning, adherence to best practices, and attention to detail. By following the outlined steps and considering the additional tips, property owners can ensure that their window installations are durable, efficient, and compliant with all regulations. For more information or professional assistance with Installing Commercial Windows, Contact Us Now to get started on your commercial window project.